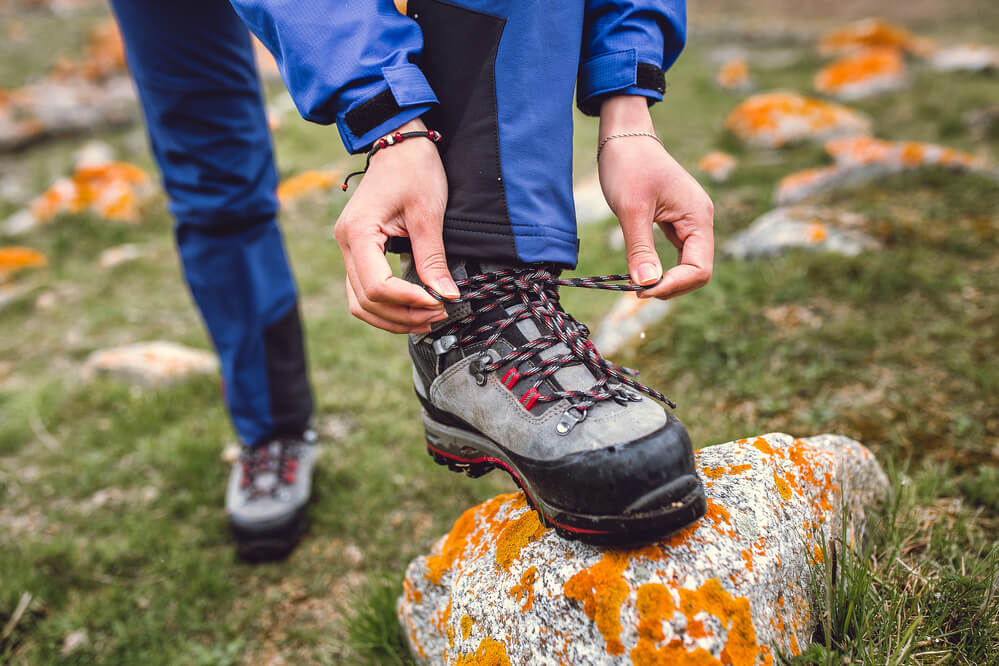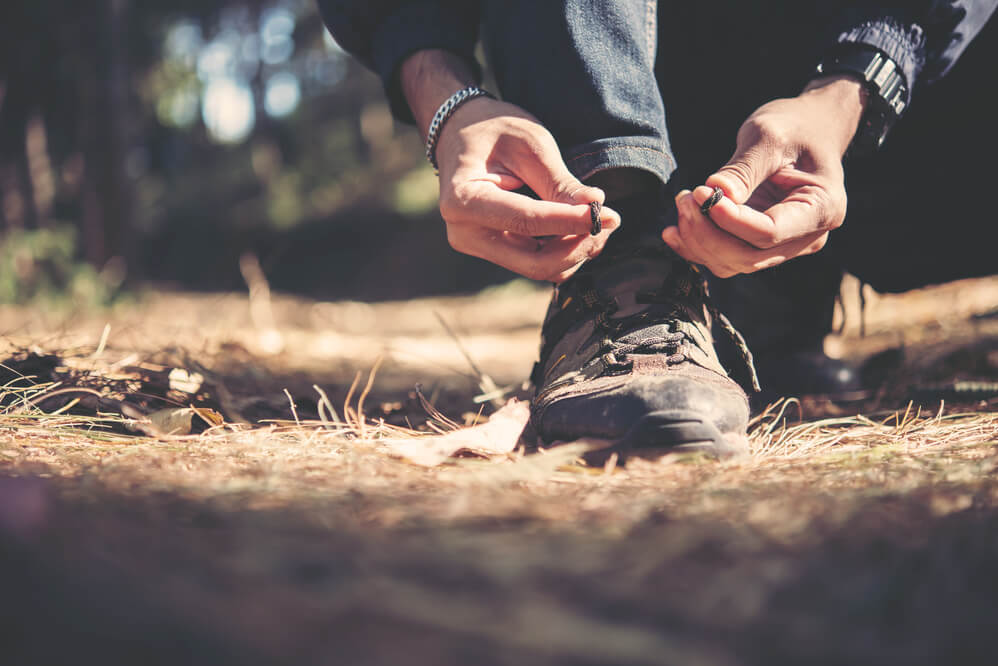
For starters, you need to know that wearing hiking socks over liner socks tends to prevent blisters from forming. This is because the outer socks will prevent moisture from reaching the inner liner, and ultimately not reaching the foot. Another crucial thing is ensuring that your hiking boots fit well.
Methods to Tie Your Boots to Prevent Blisters
If you tie your boots well, they will offer the best kind of comfort that you need. Let’s dive into the various methods you can lace your hiking boots to prevent blisters and other common issues
Surgeon’s knot
The surgeon's knot is simple and can prevent your heel from slipping. This mainly occurs due to too much interior volume at the top of the feet. This method is ideal if your laces keep coming undone, and your boots frequently loosen during hiking. At times, it is used in combination with other methods.
Method: You need to pull the loose part in the laces and make the boot snug over the top of your foot, at that point trace the two pairs of lace hooks that are close to where foot top begins.
Tie a surgeon's knot at each of the pairs you have located. The next step is to wrap the ends of the lace around each other as you would tie off, do this twice and then pull them till they are tight. You may decide to either run the lace directly to the next lace hooks to continue lacing or finish lacing up the hiking boots in your usual way.
Window Lacing
The window lacing type is ideal for alleviating pressure points to the top of your foot. It is ideal if you have high arches, high volume feet, and feel discomfort on the tops of our feet.
Method: For starters, locate where the pressure point is and untie the boot to just below the point. Once through, re-lace by ultimately going straight up to the following hook above the point and cross the laces over.
Lace the rest of your boot in the normal way. Also, you can tie the surgeon knot at the upper and lower edge of your window lace design for a warmer hold.
Toe-Relief Lacing
Toe-relief lacing method is the kind you try when you need foot relief, but you still want to continue with your adventure. It is ideal when your toes hurt during a hike, like if you have bunions or when your boots are tight at the front.
Method: You need to unlace the boot completely, Remove your foot for a while from the shoe, and then put it back.
Lace the hiking boot back up, skipping the first set of hooks, which opens up the toe box and takes the pressure off your feet. However, if this persists, you need to get a new pair of hiking boots because these may seem unfit.

Heel Lock Lacing
This method is ideal for locking your heel down into the back of the boot to prevent foot movement. It is ideal if you frequently get blisters, your heel lifts out of your boot, and your toes bang against the front of your boots when going downhill.
Method: First, ensure your heel is as far down to the back of your boot as possible. Trace on the ankle where your foot meets your leg and identify where it matches on your boot.
Lace your boot up to this point and tie the surgeon's knot. Run the laces again to the next hook to lock it off and tie another surgeon knot, then finish up lacing normally.
Relaxed Ankle Lacing
This lacing method helps to provide more space and movement between the collar of your boots, calves, and ankles. It is ideal if you face excess pressure on your ankle bones, have wide calves, and have boots that rub at the calf.
Method: First, lace your boots as usual by running the laces over the top of the top loops. You should then tie off normally, but below the top loop. Also, the window lacing method can be used above the ankle if you need more movement through the ankle.
Foot Lockdown Lacing
This method is ideal for uniformly securing your footwell into the hiking boot. It is ideal if you have narrow feet, low-volume feet and your big toe bangs on the front of your boots when trekking downhill.
Method: First locate the points in your hiking boots that feel spacious, and unlace to the lowest point. At that point, make a surgeon's knot and continue lacing. Repeat the surgeon’s knot in all the spots you feel need to be extra secure.
How to Avoid Blisters and Common Foot Issues While Hiking
If you experience heel slippage where it doesn’t sit securely in the boot, it will ultimately cause blisters. Try the heel lock lacing technique (see above). If you feel pressure on your instep, you can alleviate the pressure by freeing up some space at the point. You can resolve this by guiding your laces through two eyelets on the same side where there is tension, but don’t cross them over.
If you are a victim of blisters, you need to wear thin cotton socks under your hiking socks. This will allow the socks to rub against each other rather than against your foot. However, these socks may absorb sweat and saturate easily, which can cause blisters; you can opt for nylon socks.
Ensure the boot fits well and keep the tongue of the shoe centered because if it moves sideways, it can easily cause pressure points. When walking uphill, you can tie the knot a little further down to create more space for the feet to move.
You can guide the laces over the top of the hooks, making the knot 1-2 cm lower. It will help create tension, with the shoe remaining cozy and won’t loosen up easily.
You can also opt to lace with zones. When going on an uphill, you should lace zone 1 (lower section) more tightly for a secure fit, and leave the zone 2 (upper section) looser. When going downhill, you need to tighten both zone 1 and zone 2 to prevent the foot from sliding forward.
Conclusion
Whenever your laces get worn out, get new ones that match the shape and length of your previous pair. This ensures that you can try out any lacing techniques on the shoe.
So now you know how to tie hiking boots to prevent blisters — you need to buy boots that fit, keep your feet dry, carry extra socks, wear light-weight, non-waterproof boots, adjust laces on the trail, tape hot spots, and use a skin lubricant.
